
the face in value:
Understanding planes
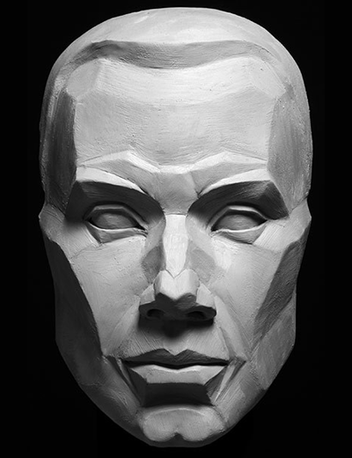 Mask by artist Philippe Faraut shows the planes of the face.
Drawing the face is challenging, but doing a good job at it is extremely satisfying. One of the best ways to understand the face is through its planes. "Planes" are flat areas. The human face can be examined as a three dimensional object made up of a connected group of flat planes.
The image at left is by master sculptor Philippe Faraut. Through exaggerating the edges of the planes, he helps us to see how the face is "put together" and how light and shadow fall across the face because of the changes in the planes.
Student artists should look for the parts of the face where one plane breaks into another. This is the area where the light on the face will change. The changes in the light is what makes the face look three dimensional.
BALANCING PLANES AND LINES
|
|
|
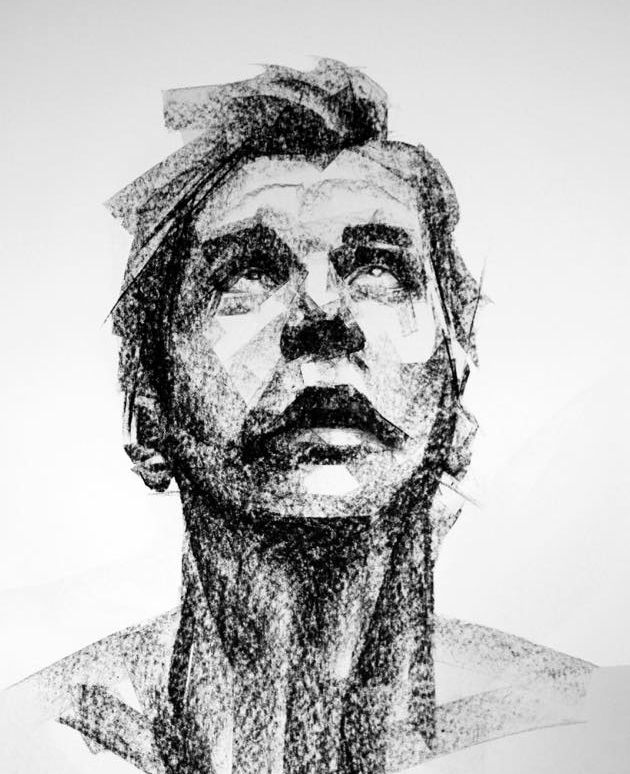
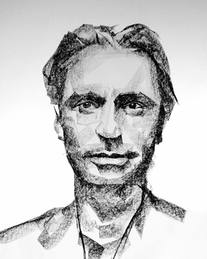
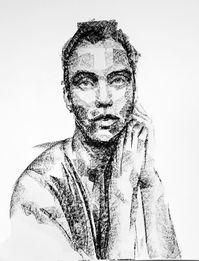
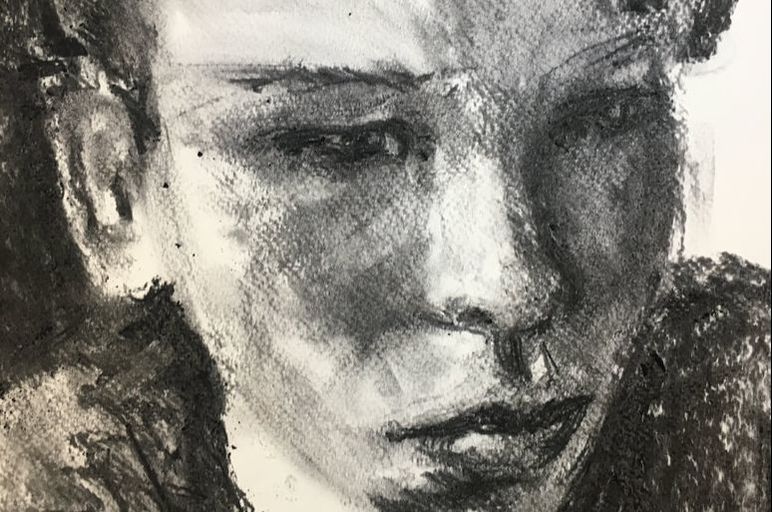
Images by artist Eric Brennan
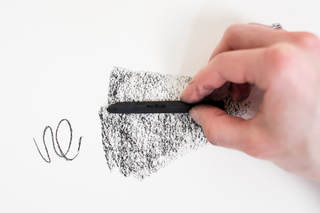
Note how artist (and SASHS Alumnus!) Eric Brennan draws attention to the planes of the face in order to create visual excitement and interest in his portraiture. Brennan uses the side of his charcoal stick to create wide marks. He varies the amount of pressure he uses to make those marks darker or lighter. The ends of the charcoal are only used to make details.
Although we don't know the specifics of how Brennan works, it's worth noting that detail marks are usually held back until the end of the drawing. Artists usually create from more general marks (wider, bigger, etc.) at the beginning of the drawing and then finish it with more specific marks (fine details) at the end.
Although we don't know the specifics of how Brennan works, it's worth noting that detail marks are usually held back until the end of the drawing. Artists usually create from more general marks (wider, bigger, etc.) at the beginning of the drawing and then finish it with more specific marks (fine details) at the end.
|
The photo at right shows the artist using the side of the charcoal to create wide gray marks. These one can easily see how this technique could be used to create the types of marks that Eric Brennan uses in his portraits.
The photo is from an excellent article by Megan Eckman called "The Basics of Sketching With Charcoal." |
|
Drawing The Face: A Video Demonstration
Here is a video demonstration of drawing the face in charcoal from a photo. The concepts are the same, whether drawing from a live model or from a photograph. Click the photo below or the button to go to the YouTube video.
CHIAROSCURO: THE LIGHT AND THE DARK
The Renaissance technique known as chiaroscuro is one in which the artist uses dramatic lighting to create a believable three-dimensional illusion. Chiaroscuro is an Italian word that is literally a combination of the words for light and dark. In a chiaroscuro drawing of a person's face, the planes of the face play a huge role in where the shadows fall.
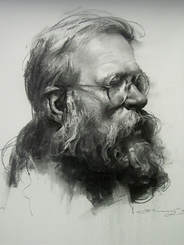 "Robert" by artist Zhaoming Wu "Robert" by artist Zhaoming Wu
Note how the planes of the face are used the drawing "Robert" at left by artist Zhaoming Wu and again in the drawing called "Portrait of Isabella" by Ingrid Thortveit at right.
In both drawings, the artists carefully identify the the changes in light and shadow as the light plays across the planes of the faces. The result is a drawing that almost looks sculpted out of three dimensional materials like clay. Please also note that outline is used very sparingly, if at all, in these works. |
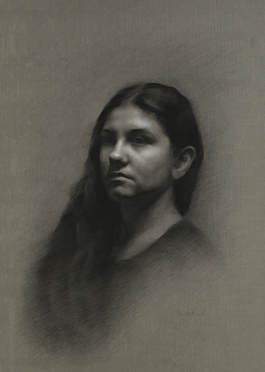
"Portrait of Isabella" by artist Ingrid Thortveit
|
